Lighting property photographs; Why do we do it?
Lighting property photographs is one of the most important things when it comes to getting great results, time after time in a range of different situations. Good, effective lighting is also one of the most difficult parts of interior photography to master. It takes a great deal of practice and experience to know how to light spaces in a way that looks natural and enhances the room. It’s fairly straightforward to fire a flash into a room and make everything look brighter, but that’s not what I am talking about here. Good lighting almost never comes from an on camera flash, and even less so from a direct on-camera flash. If you were to take a picture of a room from directly in front of the only window the results would not be nice. There would be little shadow and depth to the room and items in it. That’s pretty much what on camera, direct flash is and that’s neither flattering nor realistic. Great additional lighting only comes when you have the tools and the experience to use them properly.
Below are a few examples where we have added light to the shot to improve the end result. Lighting is not only key when it comes to illuminating a space (or series of spaces) but is so important to enhancing depth, texture and mood as these examples show.
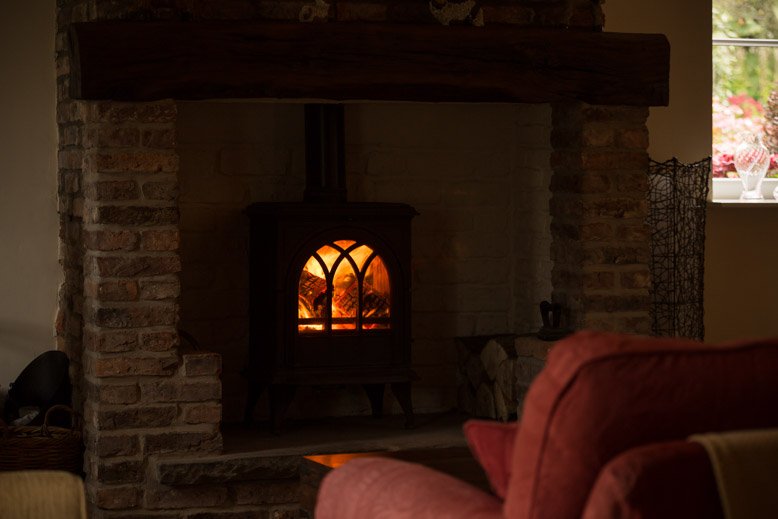
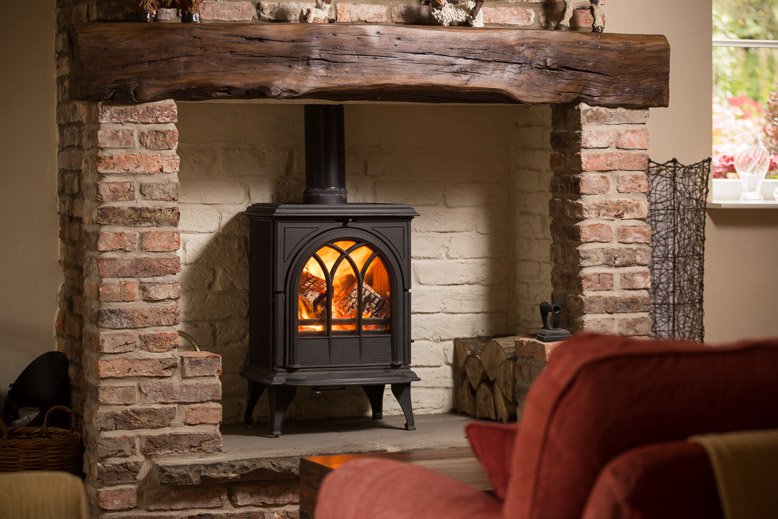
Log Burner:
To enable us to catch the detail in the flames of this log burner, the rest of the room was much too dark. By adding light we were not only able to improve the brightness levels of the room but also to bring out the texture and details in the bricks, stove and mantle piece.
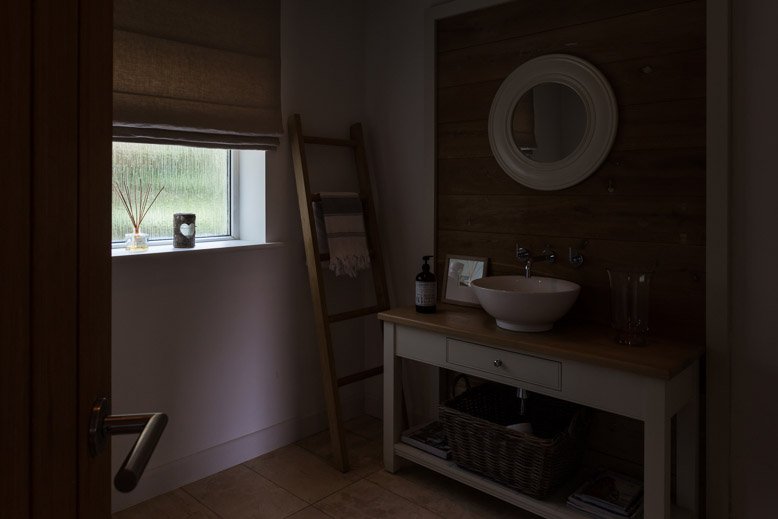
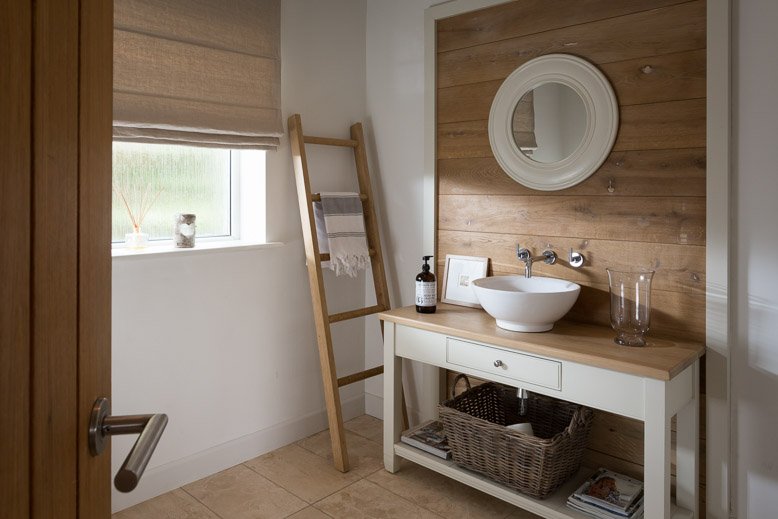
Bathroom Vanity:
This Bathroom benefitted from a lovely green view out of the window. We added a lovely zing of light from outside the window to enhance and show off the stunning bathroom fittings.
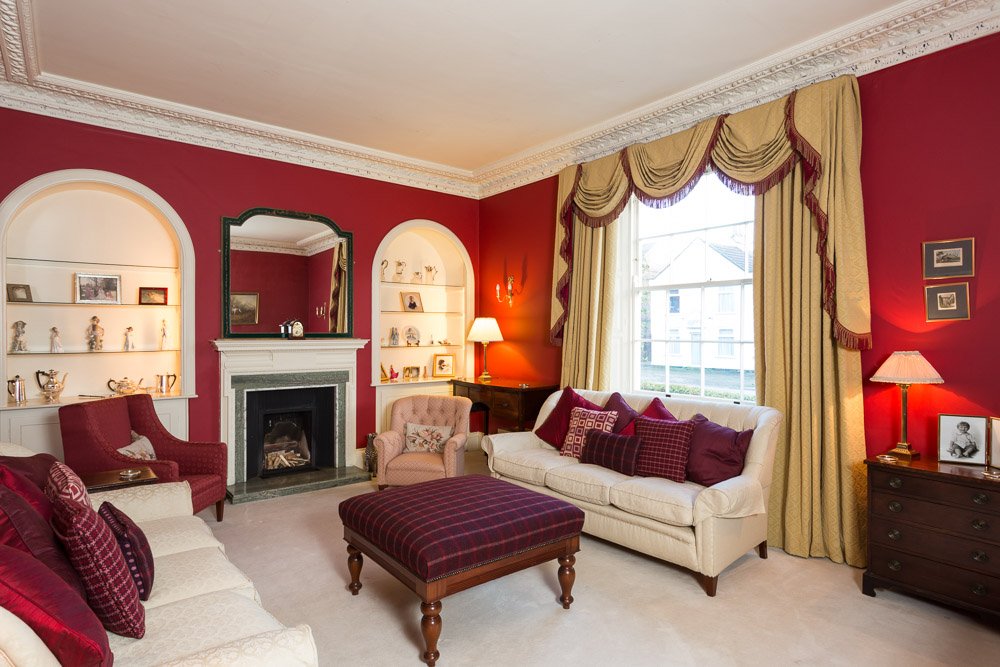
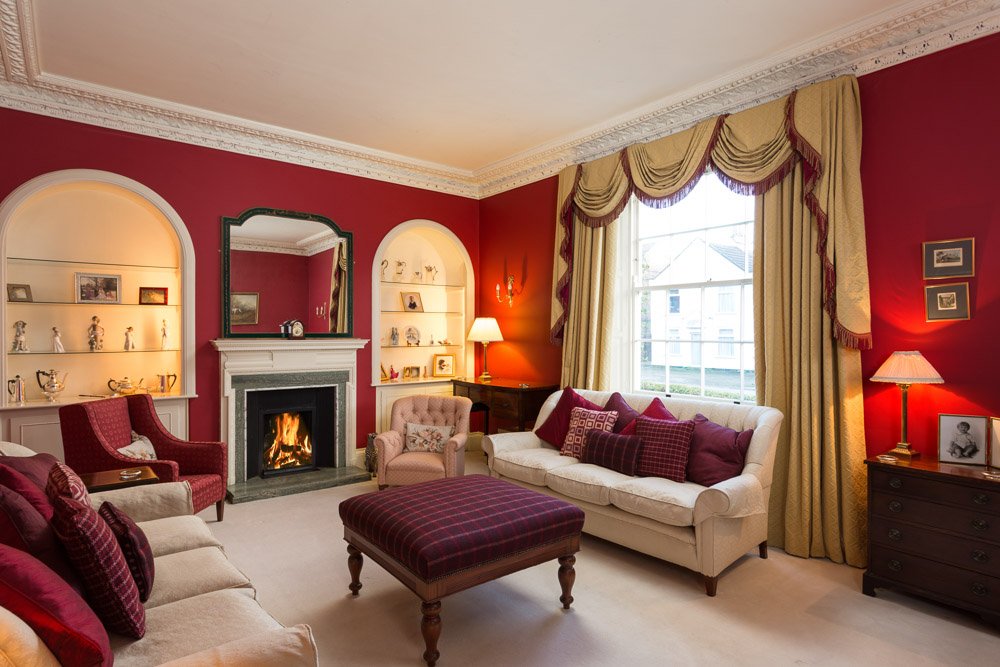
Red Drawing Room:
This handsome drawing room looked dark and gloomy before we added our lights.
The before and after below demonstrates the difference between lighting direct from the camera position and more advanced off camera lighting. Notice how the room in the before has been lit by on-camera flash, killing shadows and over brightening things like the nearest arm of the sofa. The after shot, which has been carefully lit, looks much more natural and the shadows are much more flattering.
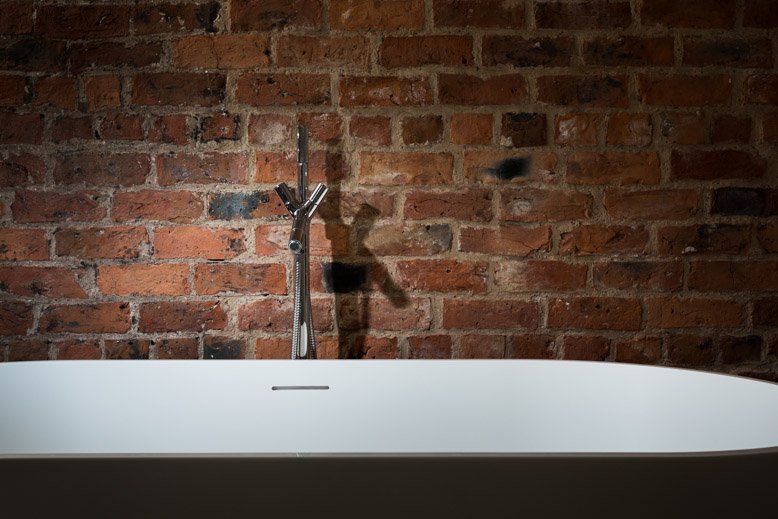
Bath Tap:
The before shot is what the room looked like when I set up. Unfortunately the light didn’t do much to bring out the texture of the brick work or provide any depth to the scene. By reducing the existing light from the overhead spotlights and a window, then firing in a hard flash onto the tap to create a spotlight, I was able to emphasise the texture of the brickwork and add some dimensionality to the scene.

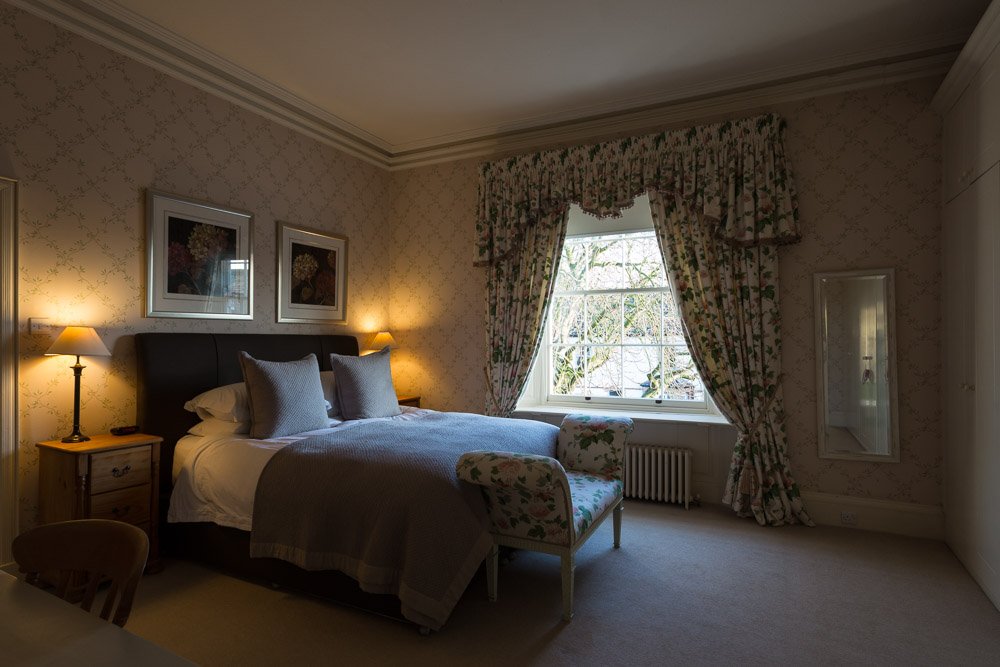
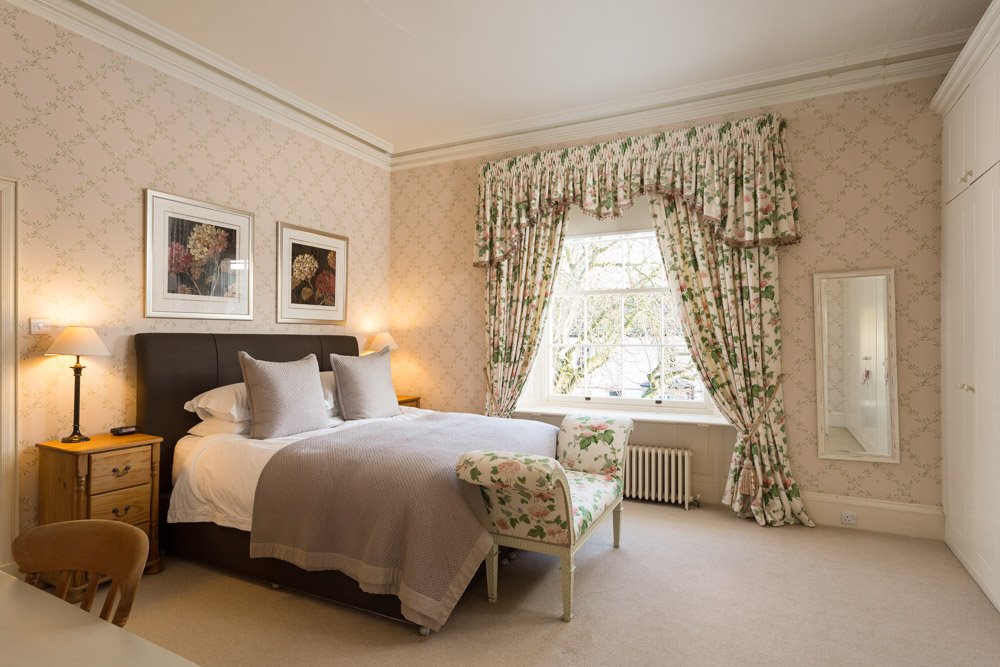
Master Bedroom:
This before is a good example of how dark a room can render on camera without any additional lights. It’s not a particularly dark room and a photograph like this would do it no favours at all. The well-lit, yet natural looking shot creates a much better impression of the room.
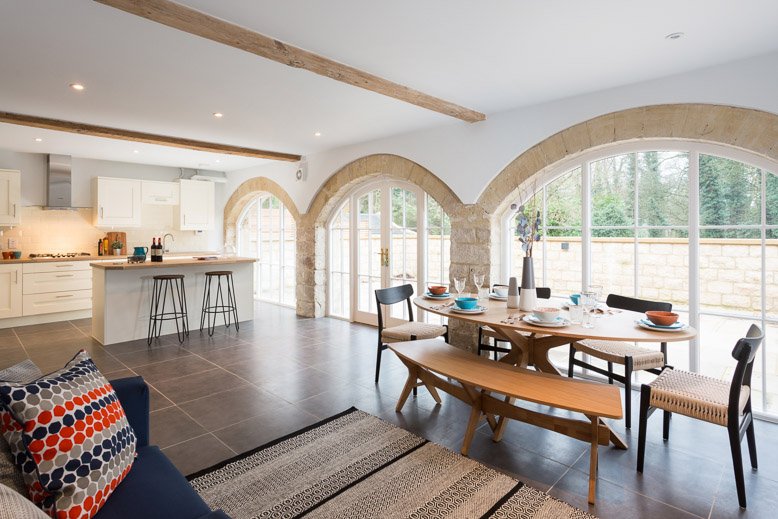
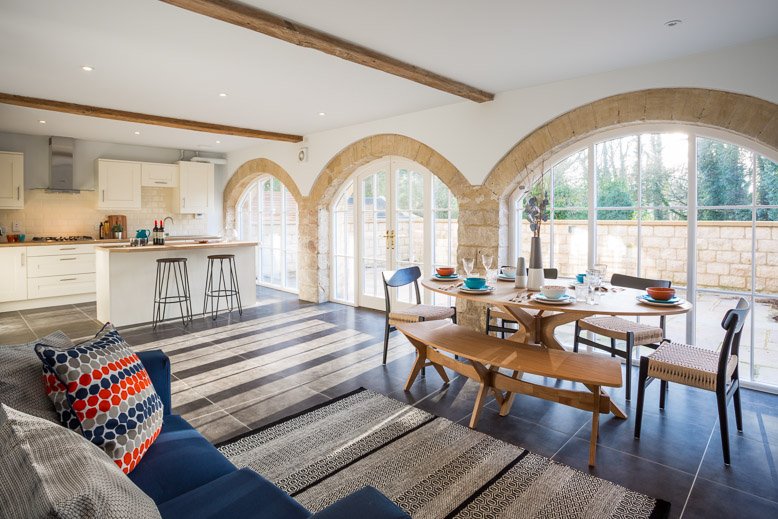
South Facing Kitchen / Diner:
Sometimes nothing beats mother nature. I took the first shot when it was overcast and used a number of lights to make everything look good. A couple of hours later the sun unexpectedly broke through and I managed to re-shoot using just natural sunlight. Most rooms aren’t fortunate enough to have three large floor to ceiling south facing arched windows along their length, but in this case nothing could beat the quality of light offered up by the sun and the right time of day.